Radio radio
Simple radio sender and receiver
Micro:bits have a built-in radio, which is just like Bluetooth. The radio can send messages to, and receive messages from, another micro:bit, up to 70m away! I couldn’t get mine to work at that distance, but I was inside my house.
Here is some simple code you can run on one micro:bit, the sender.
The first block is an arrow to remind you to press button A!
Here is the main code block.

First of all, the code sets the radio transmit (or sending) power to 7, which is full power. Then it sets up a radio group. Both radios must be in the same group. I chose group 1.
Next, we have a loop which repeats forever (while true).
Inside that loop is another kind of loop - it runs 10 times and tells the radio to send the variable called index, and it changes index from 0 to 9 in steps.
So on the other micro:bit, the receiver, we expect to get the numbers 0, 1, 2 and so on up to 9, then repeat forever.
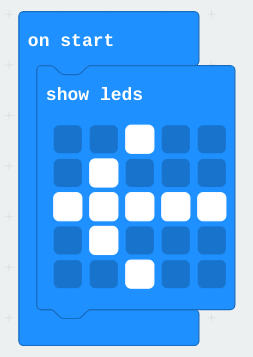
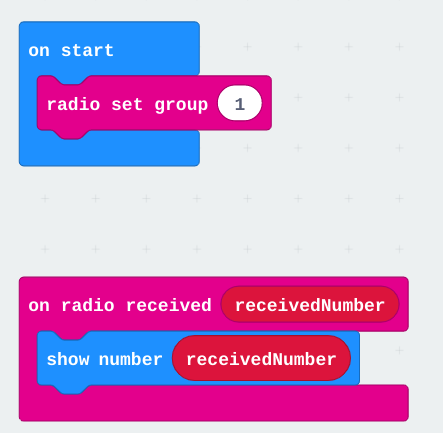
We can use this code on the receiver micro:bit to display the numbers it gets:
Again, we use two blocks of code: one to set the radio group to 1, and the other to display the received number.
Can you see how far apart the micro:bits can be before you stop receiving the messages?
Can you send a one-word message instead of numbers? Hint: instead of radio send number you should look at other send blocks.
Challenge
Try writing code so that each microbit can send and receive.
Both micro:bits will run the same code.
When button A is pressed on one micro:bit it will send a random number, between 0 and 9, over the radio.
The other micro:bit is listening to the radio, and when it receives the number it displays it.
If you press button A on this micro:bit then it becomes the sender, and the first one becomes the receiver.
Here are the 2 micro:bits when they have been reset:
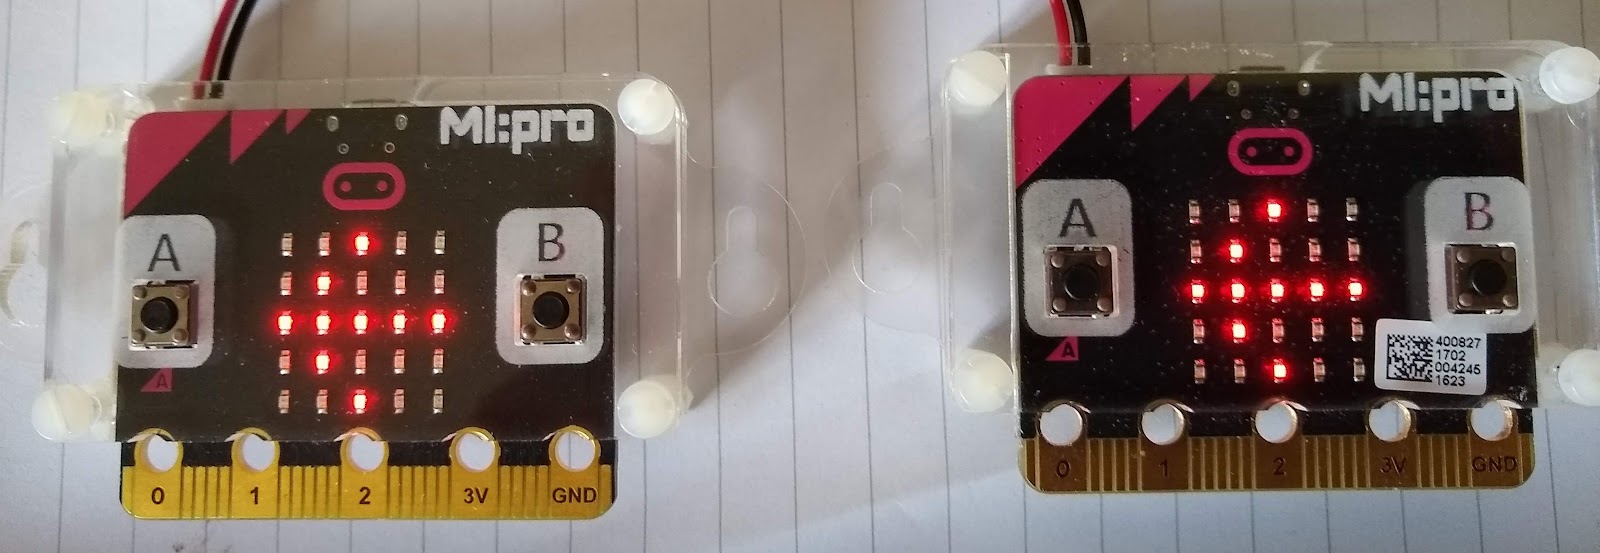
And here they are after I pressed button A on the left one:

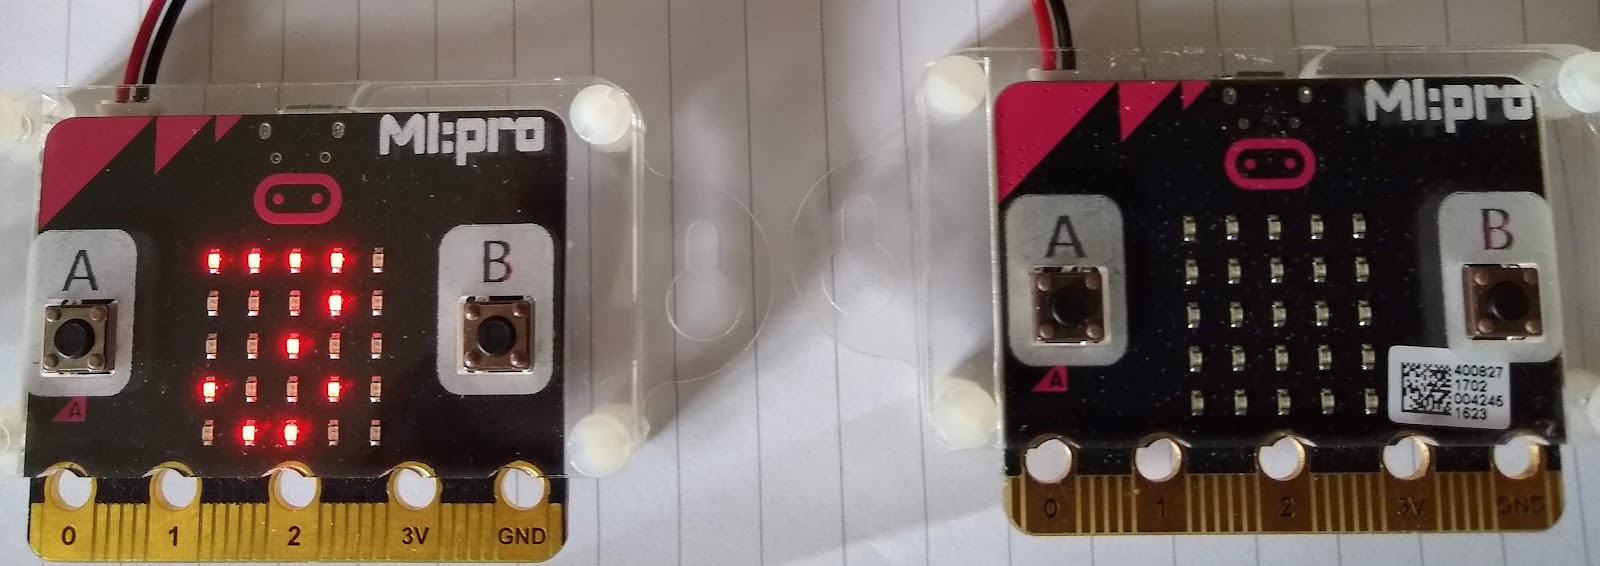
And again, after I pressed button A on the right micro:bit:
Can you try to plan the code on your own?
Try your ideas on paper or in makecode! (Click on New Project).
If you would like a hint, see below.
Code
This is my code. There are other ways to write this code. If your code works then it’s correct!

I used 3 blocks of code.
- The top block just sets up the radio power and group when the code starts.
- The middle block is the sending code.
- The last block is the receiver code.


Comments
Post a Comment